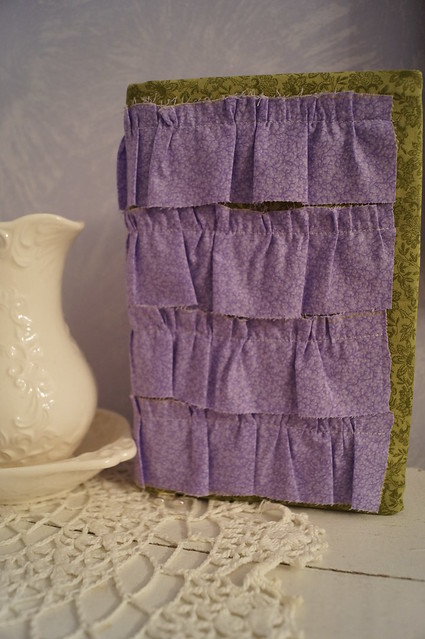
I came up with this just before last Christmas when Anna really wanted a 5 year diary (almost all of us keep a diary) with a fabric cover with ruffles on it. More specifically, she wanted raw edges on the ruffles which I couldn’t think of any reason why anyone would purposely leave raw edges for the fun of it. I mean, I’m the one who is always picking every little loose thread off of everything. I abhor fuzz and loose threads. So why would you create more? I guess it is “cute” and “in”. I don’t know. I really don’t get it. But since she really wanted it, I decided to give it a try. Charissa then wanted one for her birthday. With no raw edges. Good girl!!! 🙂 Anywho, after making a grand total number of two, I decided to make another and do a tutorial. There is no way I am going to keep it and be picking threads off of me until the cows come home, so I am listing it on our Etsy shop for sale!! 🙂
And I’m still picking loose threads off of me 😛 🙂
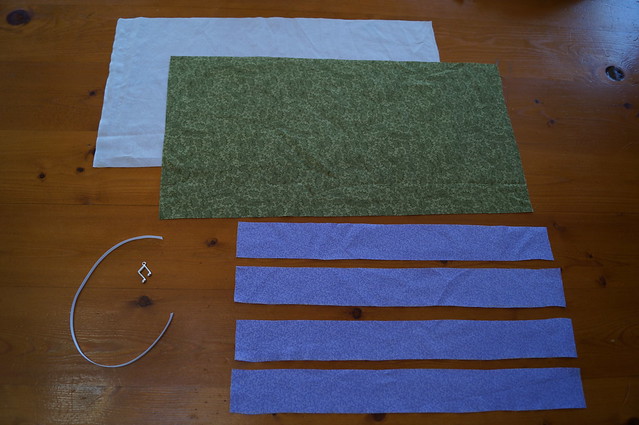
Materials you will need:
*1 piece of main fabric cut out 10 inches wider, and 2-1/2 inches longer than your journal
*1 piece of lining fabric the same size as your main piece
*4 pieces of contrasting fabric for your ruffles. 2 inches by 1-1/2 times the width of your journal (so mine is 18 inches long)
* 1 ribbon, about 4 inches longer than your journal
*a charm of your choice
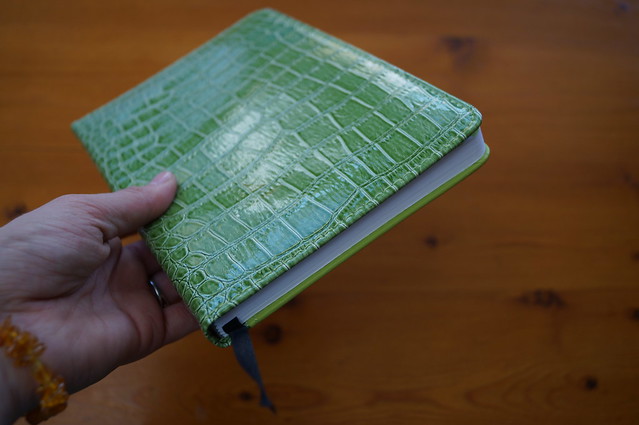
The journal I am using had a black bookmark ribbon. I cut it off because it does not at all go with the colors I am using. I will add a white ribbon bookmark later.
Put gathering stitches in each ruffle, about 1/2 inch from the top. If you don’t want raw edged ruffles, zig-zag the edges before putting in the gathering stitches.

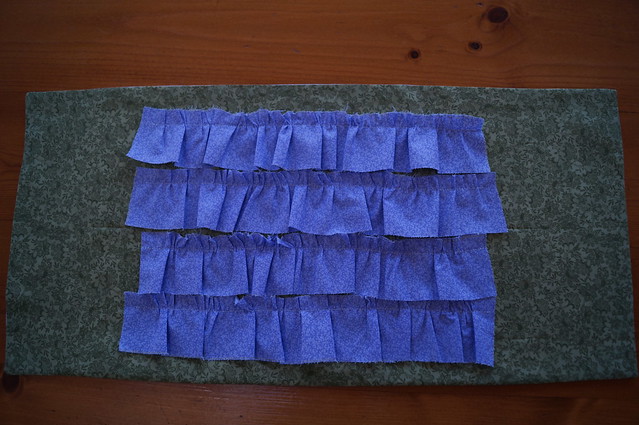
Fold and press your main piece in half both ways to mark the very middle. Then, measure your journal and pin (measuring from the middle out) marking where you want your ruffles.
Here, my journal is 12-1/2 inches wide and 9 inches long. So measuring from the middle, the top and bottom pins are 4-1/2 inches from the middle, and the side pins are 6-1/4 inches from the middle.
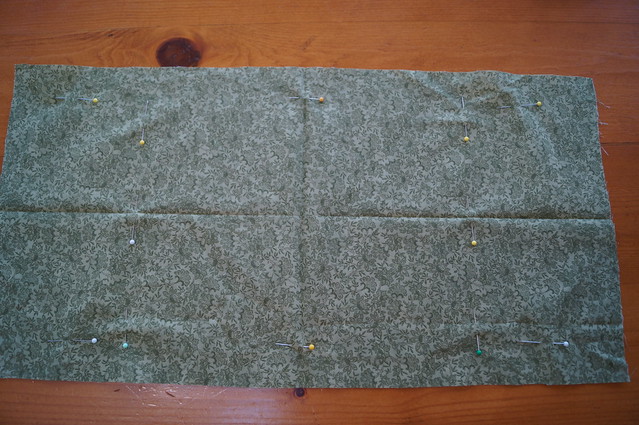
Pin the ruffles in place. Pin them further over your marked area if you want the ruffle to go all the way to the edge (as shown on other covers I have made at the end of this post). If you want the ruffle to end before the edge of your journal, like this one, pin it right up to your marked area.

Sew all four ruffles on just under the gathering stitches…
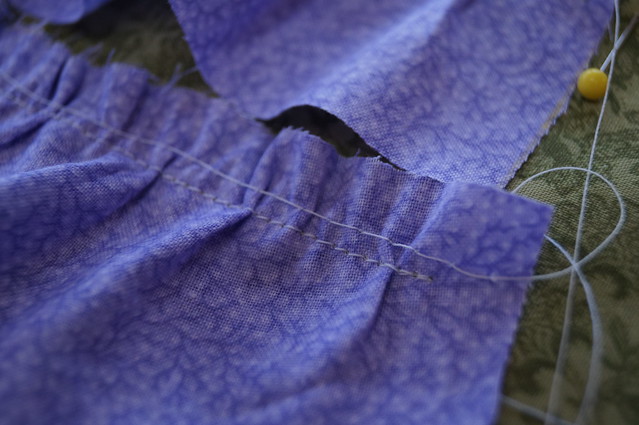
Take out the gathering stitches and trim all threads

Place both pieces right sides together, sew with an 1/2 inch seam allowance around leaving a 5 inch opening on one of the short ends. Trim corners.
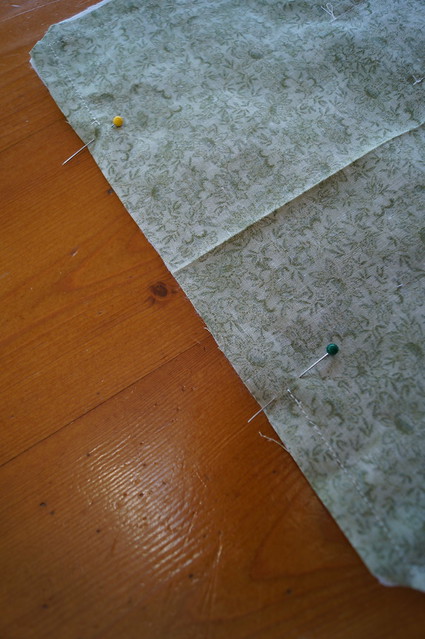
Turn right side out, press, and stitch the opening closed.
Place your journal exactly in the middle of the inside out fabric cover and fold the edges over the journal cover edges and pin in place….
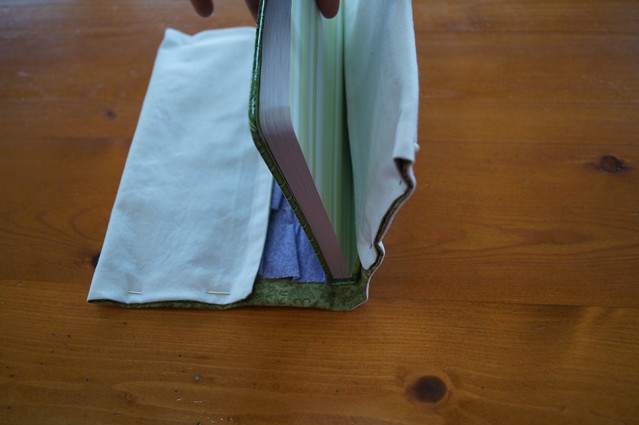
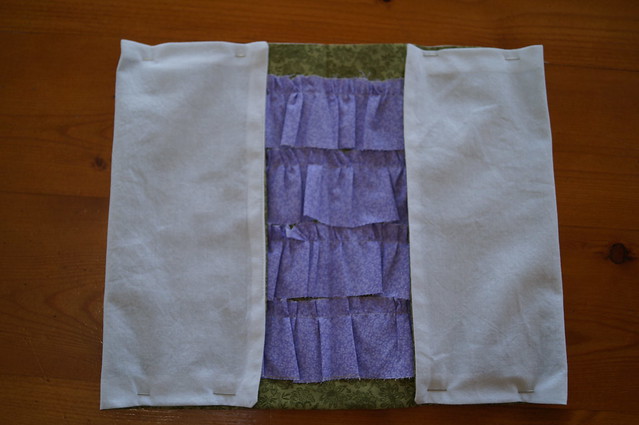
Stitch all four seams with an 1/2″ seam allowance….
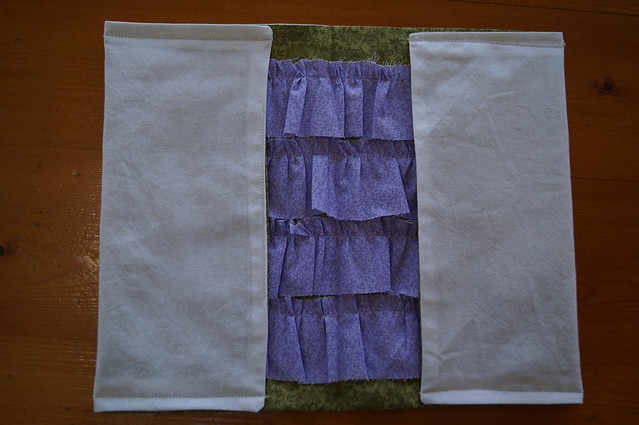
Turn right side out, press and see how your journal fits….
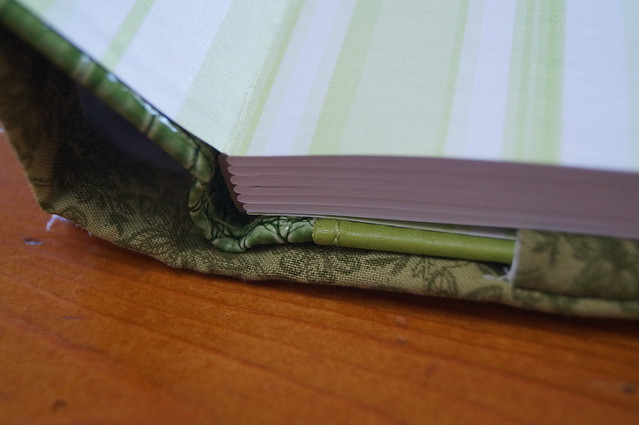
Stitch the ribbon bookmark to the top middle
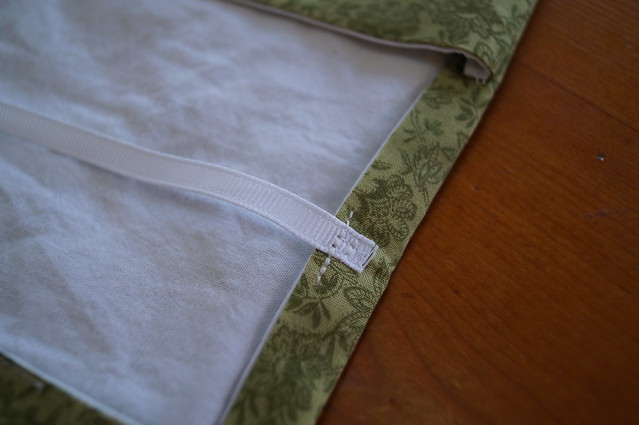
Add a charm of your choice to the end of the bookmark…
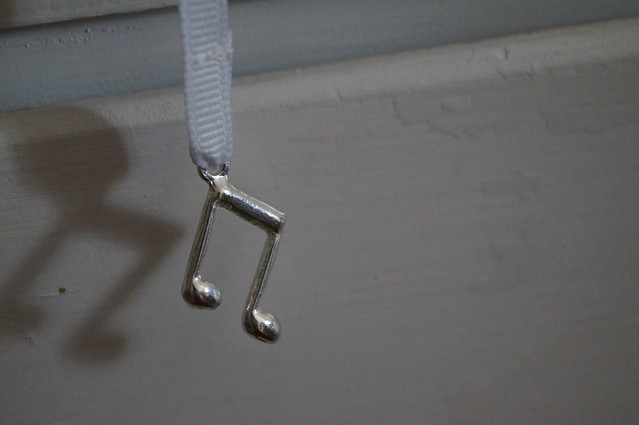
Ta da!!!! You’re done!!! 🙂
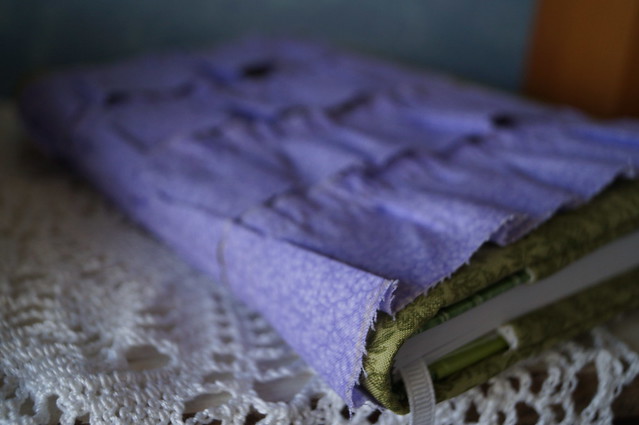
This is one I made Anna for Christmas….she wanted the raw edges. This is a bigger notebook (a 5-year diary actually), than the one I used for this tutorial, so I did 5 ruffles.

This is one I made for Charissa’s birthday. She wanted no raw edges, so I did a zig-zag stitch with contrasting color on the edges. It is the same kind of diary that I used for Anna’s.
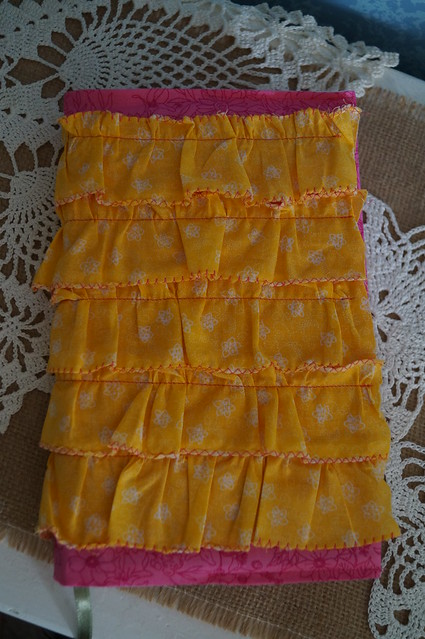
You could do variations of ruffles: smaller ruffles, leave more space between the ruffles, do vertical ruffles, just one ruffle, etc. The possibilities are endless!!!

Enjoy trying this out! Remember, if you don’t want to sew your own, just hop right on over to our Etsy shop and buy this very one!!!! 🙂

Subscribe to get our blog posts in your inbox!
